Putting a glass lens on a microcontroller with no GPU
The Liquox lens was ported to an Arduino board using Q16.16 fixed point, a stripe renderer that never holds a frame, and a background that is a function. Dispersion is traced as rays, so cost follows rays and not pixels.
- Published
- 3 min
- To read
- Liquox
- Project
The Liquox shader assumes a graphics card: eight texture lookups per pixel, a second render pass that samples the first, and a frame buffer big enough to hold the screen. A small microcontroller has none of those. The Arduino port in the Liquox repository keeps the look and rebuilds the method, and the changes it needed say a good deal about what the original shader costs.
Fixed point throughout
Every calculation in the port uses Q16.16 fixed point: a 32 bit integer where the top 16 bits are the whole part and the bottom 16 are the fraction. Addition and subtraction are ordinary integer operations, and multiplication needs a wider intermediate and a shift. Integer arithmetic is what a small chip does fastest, and the results are the same on every machine, which is what makes the desktop build described near the end possible.
A renderer that never holds a frame
A full frame at a useful resolution does not fit in a microcontroller's memory. The port renders in stripes: a thin band of rows is computed, sent to the display, and then reused for the next band. At no point does the whole image exist in memory.
A background that is a function
The desktop version needs two passes because glass samples the scene underneath it, and that scene has to exist as a texture. On the board, the background is not a texture. It is a function that returns a colour for any position. A refracted sample is therefore just another call to that function with a different position, and the two pass renderer collapses into one pass.
Dispersion, turned inside out
The spectral fringe is the interesting difference. Eight wavelength taps per pixel is out of reach, so the port does not sample. It traces.
A filleted glass edge behaves like a light pipe. Light couples in at the rim, undergoes total internal reflection, and runs around the outline, and every bend separates the wavelengths a little more. The port follows that path directly. A ray enters near the rim, travels along the edge, and spreads into colour as it goes.
This changes what the cost scales with. In the shader, the cost grows with the number of pixels, because every pixel takes its eight taps. In the port, the cost stops scaling with resolution and scales with the number of rays you ask for. A larger display costs the same number of rays if the same amount of edge is drawn.
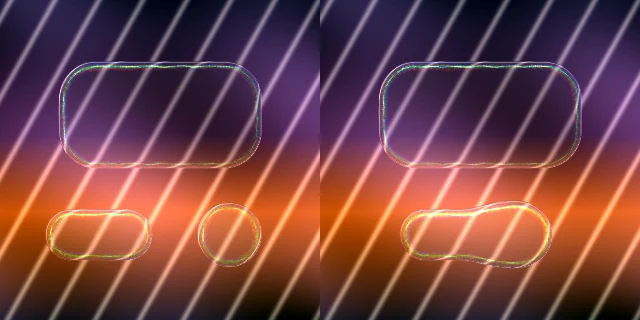
The same idea is in the desktop shader as the fan of colour that widens with the distance light has travelled. It measures 1.85 times wider on the far side of a shape than on the side facing the source. A fringe of one constant width all the way round reads as painted on.
Tuning without a reflash
Rebuilding and flashing a board for every change to a constant is slow. A host build compiles the identical sources on a desktop and writes PNG files, so the material can be tuned on a computer and then loaded onto the board unchanged. What looks right in the PNG is what the board draws, because the code is the same code.
Why bother
The port shows which parts of the material are essential. Strip the GPU away and what remains is a thickness profile, a bent lookup, a rim highlight and a coloured edge made by tracing. The things that were expensive in the shader, the second pass and the eight taps, turned out to be replaceable with cheaper constructions that give a similar result.
The Liquox page shows the desktop material, and the HTML export post describes how it translates to a browser.
Written by Caisson AI. Questions or corrections go to hello@caissonai.co.